Import single image
Use this workflow when you want to convert one image file into one ND2 file.
Supported input formats are .nd2, .tif, .tiff, .btf, .lsm, .czi, .oif, .oib, .png, .jpg, and .jpeg.
Example conversion:
file.tiff -> file.nd2Step 1: Open single-file conversion
- From any page, click the arrow on the Image button.
- Select
Import file.... - Choose your input file.
If the file dimensions are already fully known, this page is skipped automatically. (most common exception is multipage TIFF files, which may contain unknown dimension)
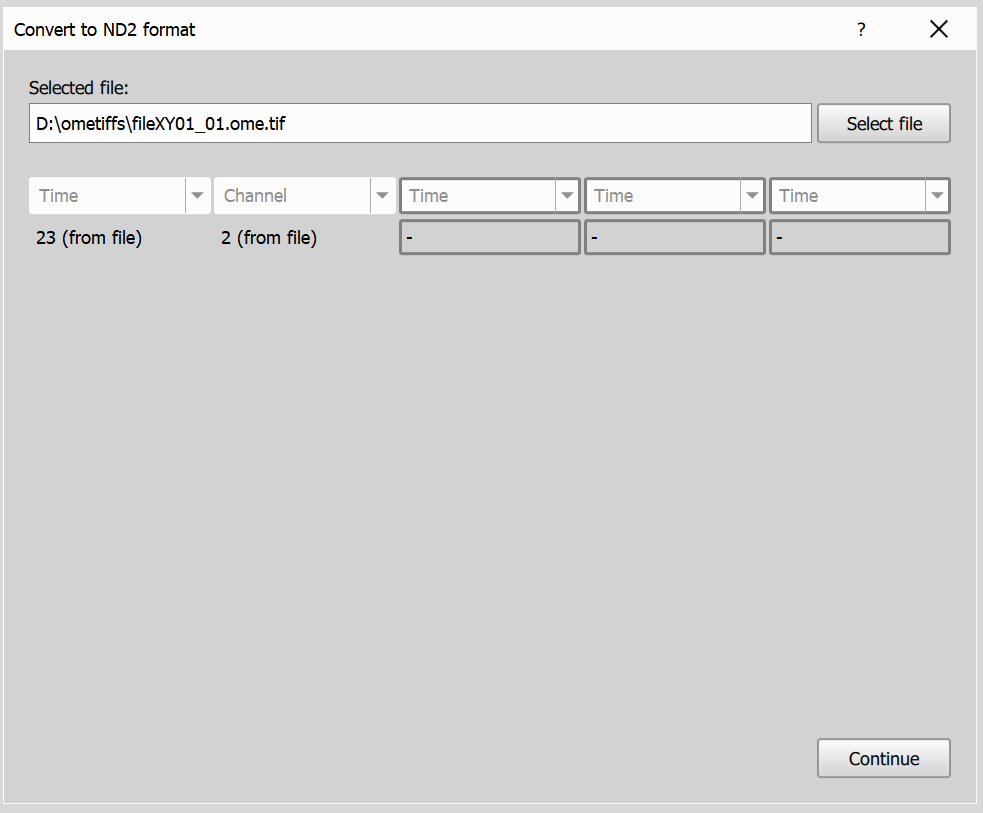
Step 2: Experiment and microscope settings
On this page you will input the experiment and microscope settings for the imported image.
If available, the dialog pre-fills settings from image metadata; otherwise it uses the last saved settings for the current filename pattern.
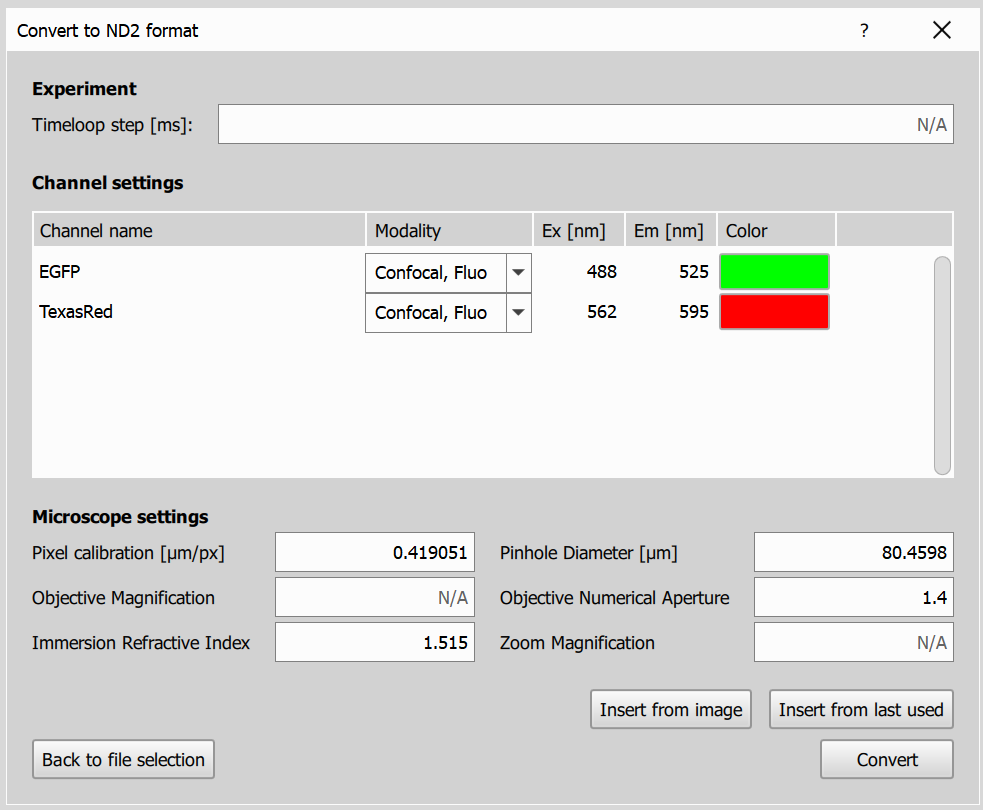
- Experiment Settings: Based on the selected dimensions, you’ll be prompted to provide relevant settings for the experiment. For the Time dimension, enter the time interval between frames. For the Z Series, specify the Z-step size. If a Channel dimension is selected, you’ll need to input details for each channel, including names, modalities, excitation and emission wavelengths, and the channel color.
- Microscope Settings: Specify the microscope settings for the imported image.
- Prefill buttons:
Insert from imageloads settings parsed from the image file, andInsert from last conversionloads settings previously saved for the current pattern.
Step 3: Convert
On this page you will see the progress of the conversion process, estimated remaining time and output filesize. Once the conversion is complete, you can open the converted ND2 file in NIS Express.
